Posts

Showing posts from 2007

Tealight Candle Holder

Image
L earned this from another crafter, technique used is simply sticking some colored tissue papers, which were teared into stripes, on any glass bottles with some diluted white glue as the sticking agent. I got those colored tissue papers from Art Friend. They are packed in serveral colors in a pack. You can add some creativity here by the color combination you choose and the effect will be very different. It's super amazing when all the tealight candle holders were lighted up in the dark. The way the papers were teared apart that formed like mountain, sun and sea scenery. Plus the soothing effect of the tealights shine upon the papers created hues of colors. I like lighting up candles at home, especially with a soft background music for a soothing effect. These glass candle holders are definitely a must to have for someone like me. How about you?
Transformation of a blank wall

Image
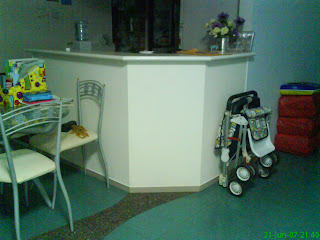
A before and after transformation comparison. A minor makeover to this corner of my counter top wall near the kitchen. I just use a black marker to do the job, do take some precaution not to smudge if the marks are not dried thoroughly. Pretty easy and fun to play with curves and shapes.

Christmas Affair - Pussy Willow Christmas Deco

Image
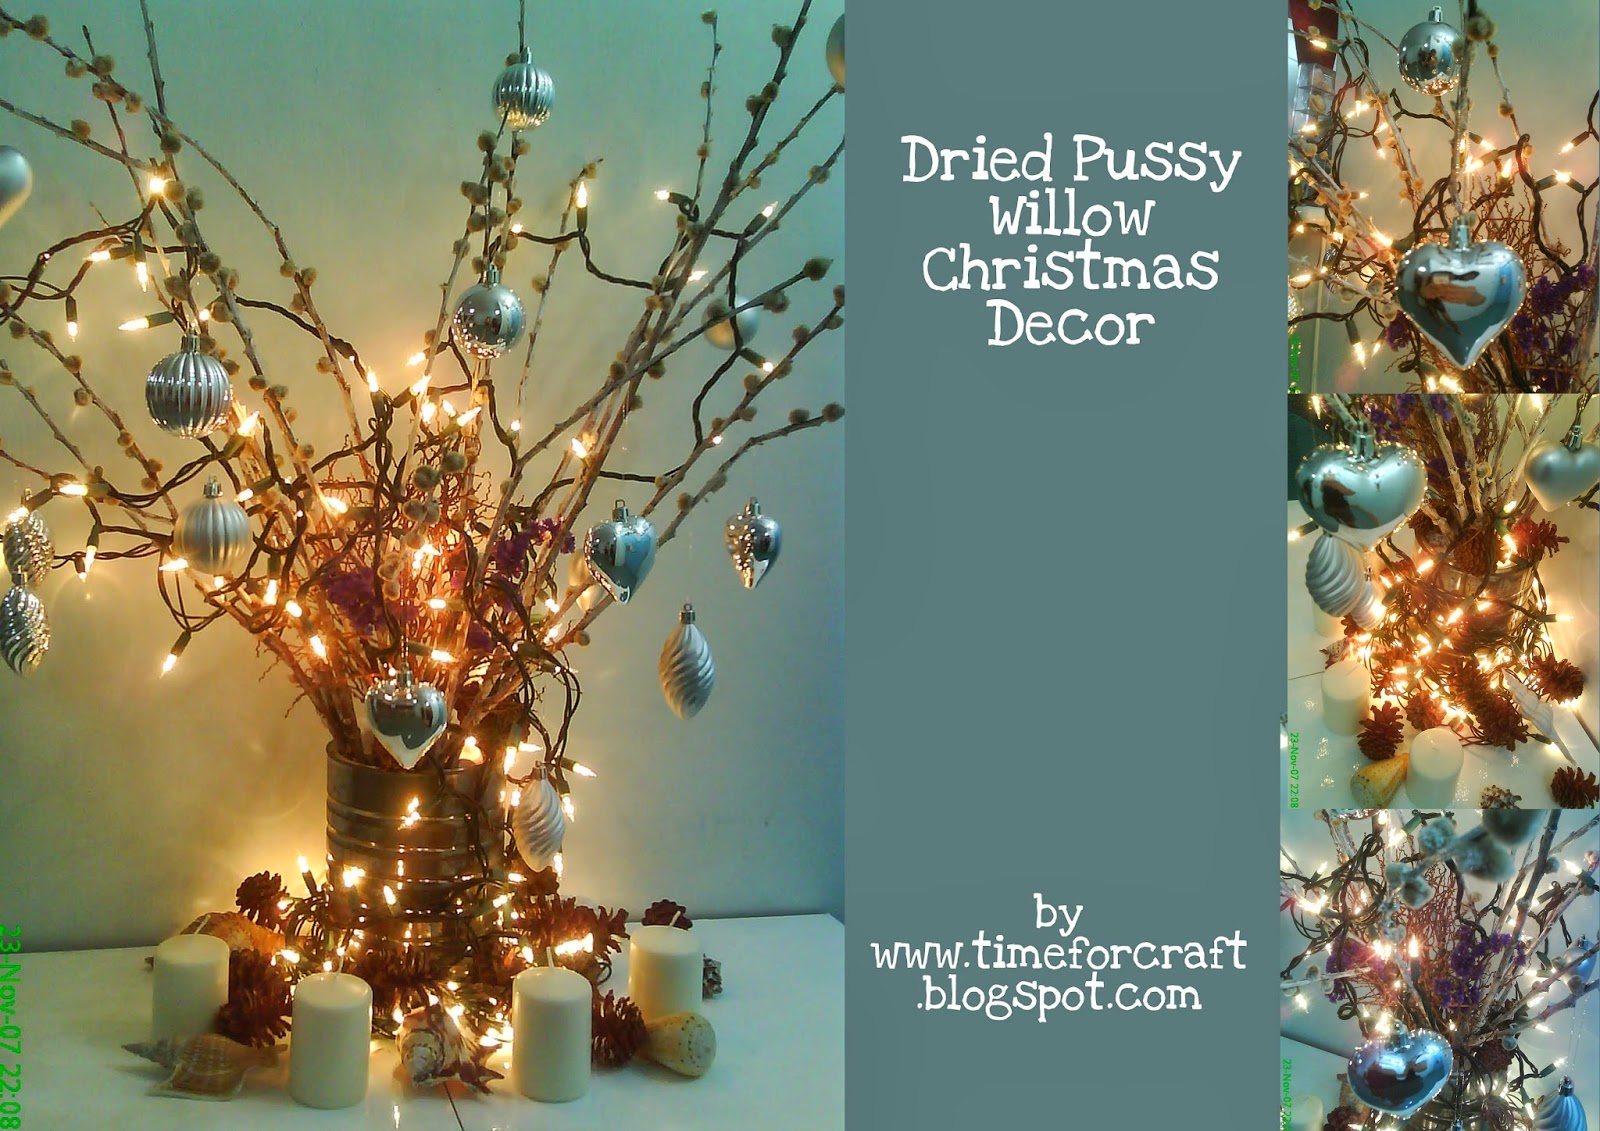
Time for decorations this festive season! To me, Christmas is the most beautiful holiday of all round the year. Beside all sought of beautiful decorations and lightings that's up at shopping malls, the white and snowy feel at the other end of the world (have to experience that one day) can bring some excitement here in Singapore. Not forgetting my go green principle, I transformed my 07 New Year pussy willow into a mini Christmas tree. About 11 months after the Lunar new year, it has certainly dried up. I coated the branches lightly with white water based paint for that snowy effect, hanged some silver baubles on the branches and twisted some lightings on it. The 'vase' was a milk tin canned, haha! Voila!

Skeleton Vein Leave Frame

Image
Bought this wooden frame from Ikea and thought I have to do something with it. I liked collecting seashells and there it goes some of my little collections. I have yet to figure out a best way to produce skeleton vein leaves, but these were the two which I've soaked in waters of days and dyed them in colored food coloring. Wordings about the nature like 'sunshine, flowers, sea etc.' were written in black pen for an added feel. As a souvenir for my boy's form teacher, I did this in the hope that she will like it. You can try this too and always have fun folks creating your unique gifts!

School Concert Stage Backdrop Involvement

Image
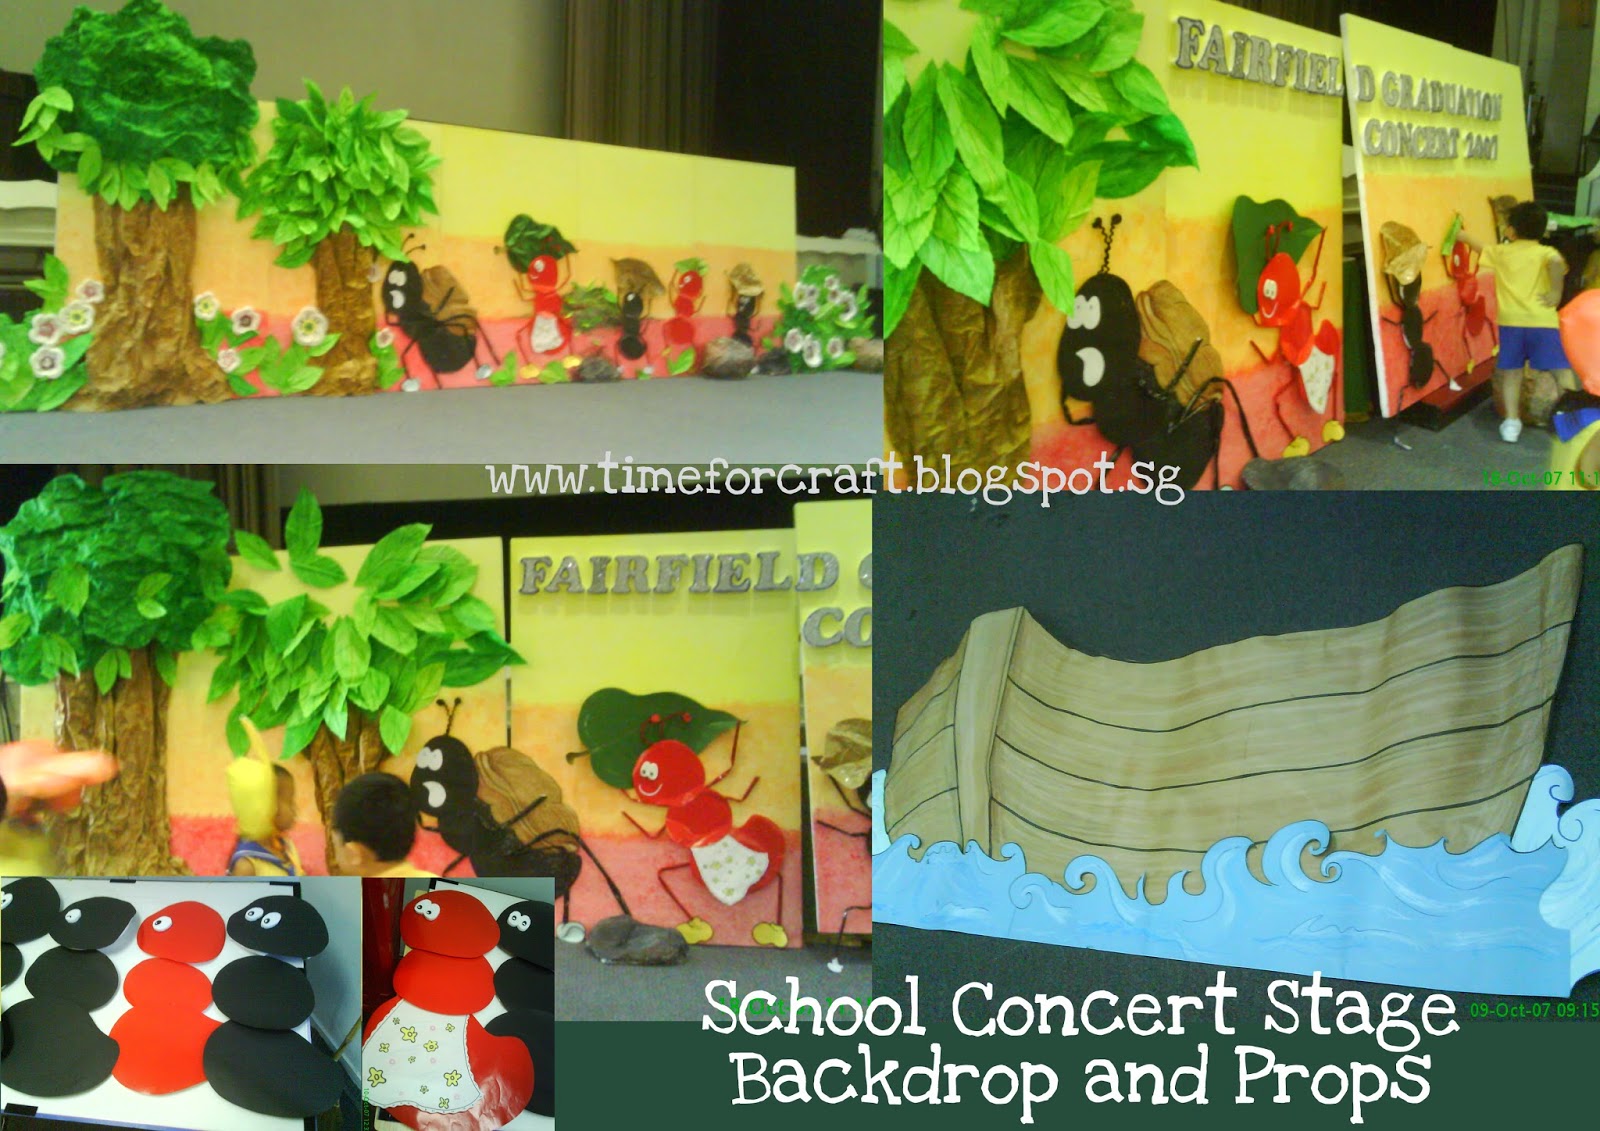
As part of my parental involvement effort and at the same time, well spending my 3 hours waiting for my boy while he's at pre-school, I was invited by the teacher to help up in the setting up of the stage backdrop for the school graduation concert this year end. As per request I need to create 5 ants, a boat and 2 big rocks as props. Hooooh! Is a great opportunity for me to explore, frankly, it's my first time! I stayed back in school not loitering around Chinatown area after sending my boy off to his class. Making use of brown papers recycled from packaging wrappers, the boat was sketched and cut out. Blue constuction papers was added on with lighter tone of blue colored pencil which marked the wave liked effect. Lots of newspapers was crumpled to form the big rock, coupled with paper mache technique. And lastly, some grey, brown white black paints were poured onto the rockes to create that rocky effect. It took about 2 weeks to complete them part by part. Together w

Wooden Garden Signage

Image
Staring at my little garden at the corridor, I got a sudden urge to create something to mark my territory (sounds like a woof, lol). Just a signage to hang in there to spice up a little. I've a number of spare wooden board collected years ago from fruit crates, when I started DIYing as a new home owner. (not much capital la, no choice:<) In Singapore, you could easily get these polyform fruit trays that comes with fruit carton at any fruit stall or supermarket. So, I used a polyfoam cutter to cut out letters and shapes, plus the propellers of the windmill. Bright fabric paints was highlighted to make them livelier.  All out of recycled materials (black fruit tray, wooden fruit crate, freshmilk bottle cap).

Parental School Involvement

Image
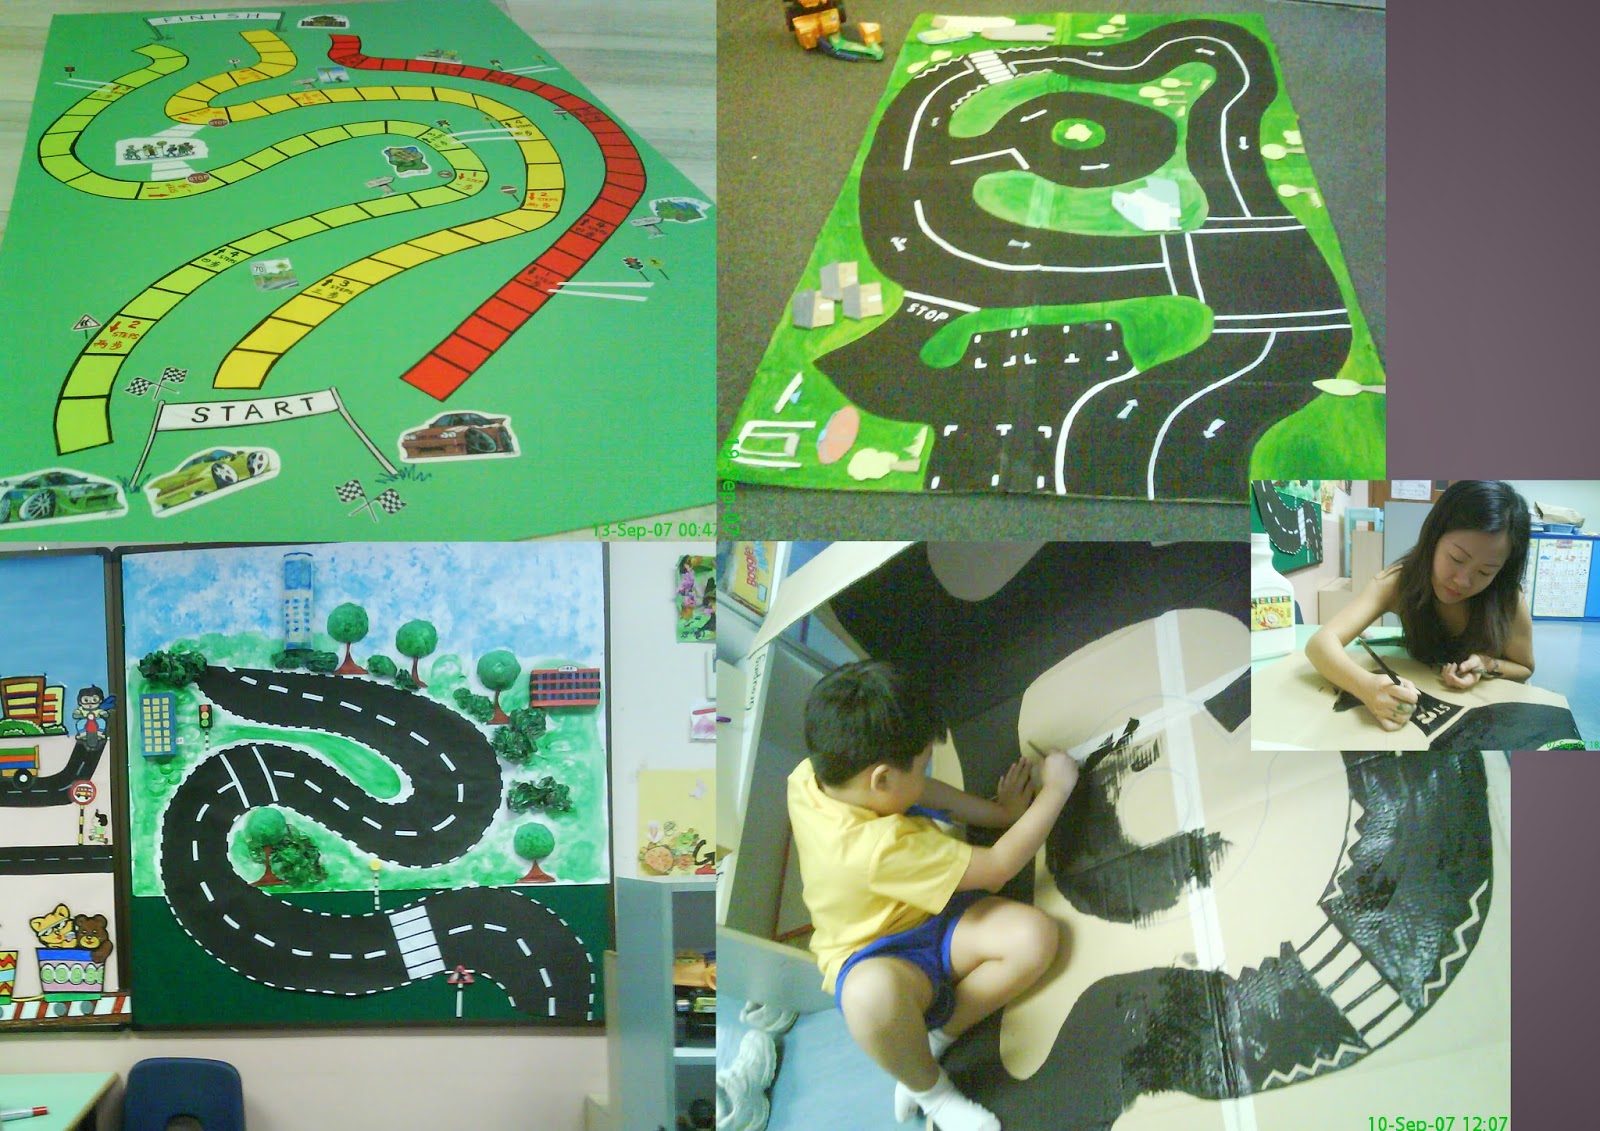
Since the beginning of 2007, I've been actively involved in my son's pre-school class teaching them craft as a form of parental involvement. As the journey from home to school takes at least 2 hours to and fro, I must as well make use of the 3 hours waiting time to do something more meaningful. I remembered the very 1st craft I taught was a goodie goodie basket made of red packets. Handling 18 kids all at one time blows up your head. They just go 'Aunty this... Aunty that... Aunty blah blah blah...' But, to see them bringing back the crafts at the dismisal hall after the day, is what you called it a fulfilment. They showed off to their parents as they approached them and walked back home with it in their hands... This is Satisfaction!  During the September school holiday, I was approached by two teachers to help in a project about traffic, a topic that they're teaching in the Term 4. So I ended up helping both in their two classrooms, two notice boards a

A Little Recognition - 1st in Lantern Making Competition

Image
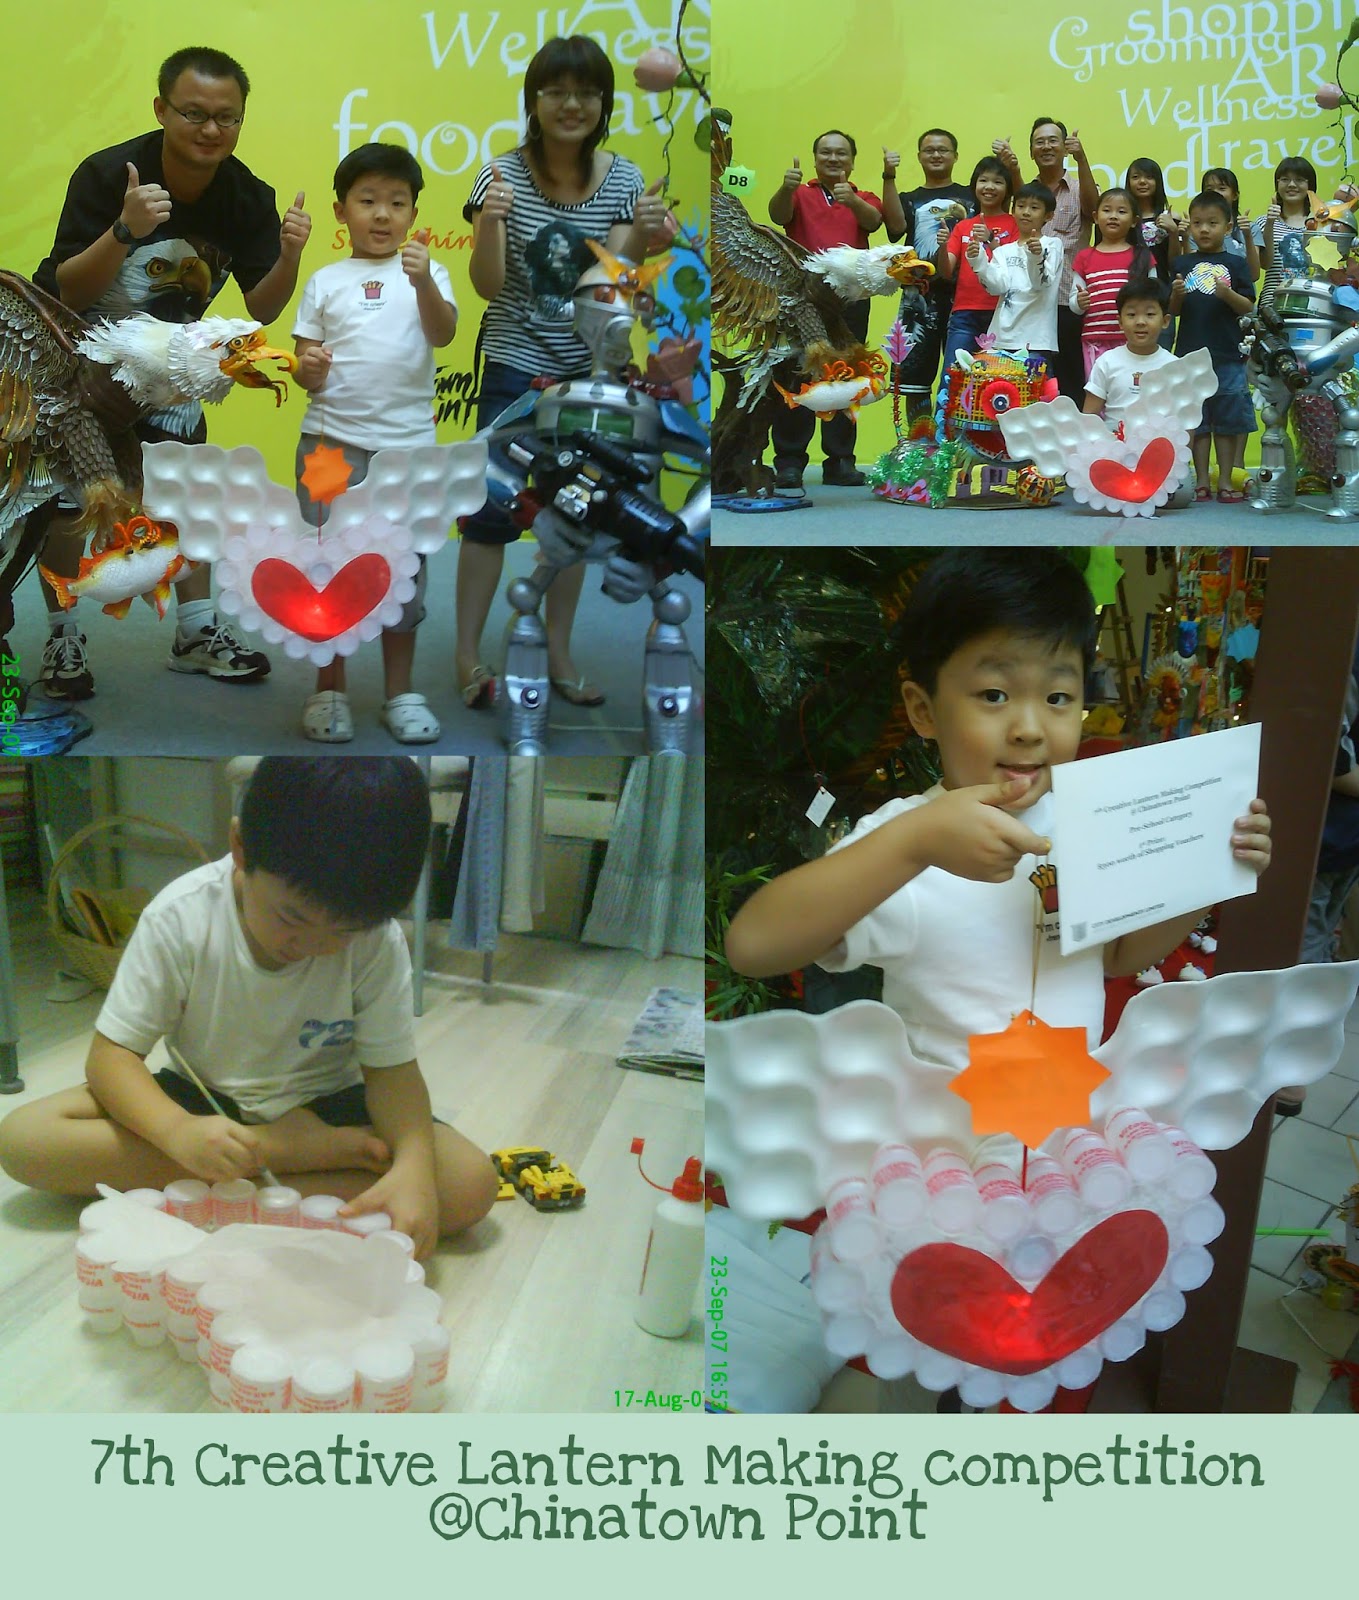
I couldn't imagine when I received the notification letter, as I have never won a prize in any of the competition I took part.  It was really a great motivation that the lantern we submitted won the 1st prize for the 7th Creative Lantern Making Competition held at Chinatown Point in the Pre-school Category. It's like 'hey, you made it! Wow!' I feel so grateful to have insisted on using all recycled materials as compared to other participants who've thrown in huge cost on materials alone just to get them a place in the competition. Certainly, this has pushed me few steps ahead on this journey of go green crafting. Thank you Universe, I'm gratified!

DIY Plastic Egg Carton Lantern

Image
This was another lantern project submitted for the competition which was not shortlisted. It  was a combination of 5 plastic egg cartons (translucent type) added with flowers made from it as decorations. I used the clear egg tray for those flowers, cut out each individual egg mould from the tray and coloured them with Peel n Stick colors, this created a transparent look with the lights on. I sticked two layers for each flower, one with the petal shape cut and spread out below the other without any cutting on top, which is the centre piece of the flower. I added some flower paintings in fabric paints using a more oriental style, the pop up effect of the paints looks outstanding on the plain plastic background. After the competition, I did some reflection and analyzed that I shouldn't have left the lantern plain without a coat of paint, and I have added too much flowers to it. The whole lantern looks complicated without a focus of attraction. Anyway it's a great experienc

Deadline Rush - DIY Lantern making

Image
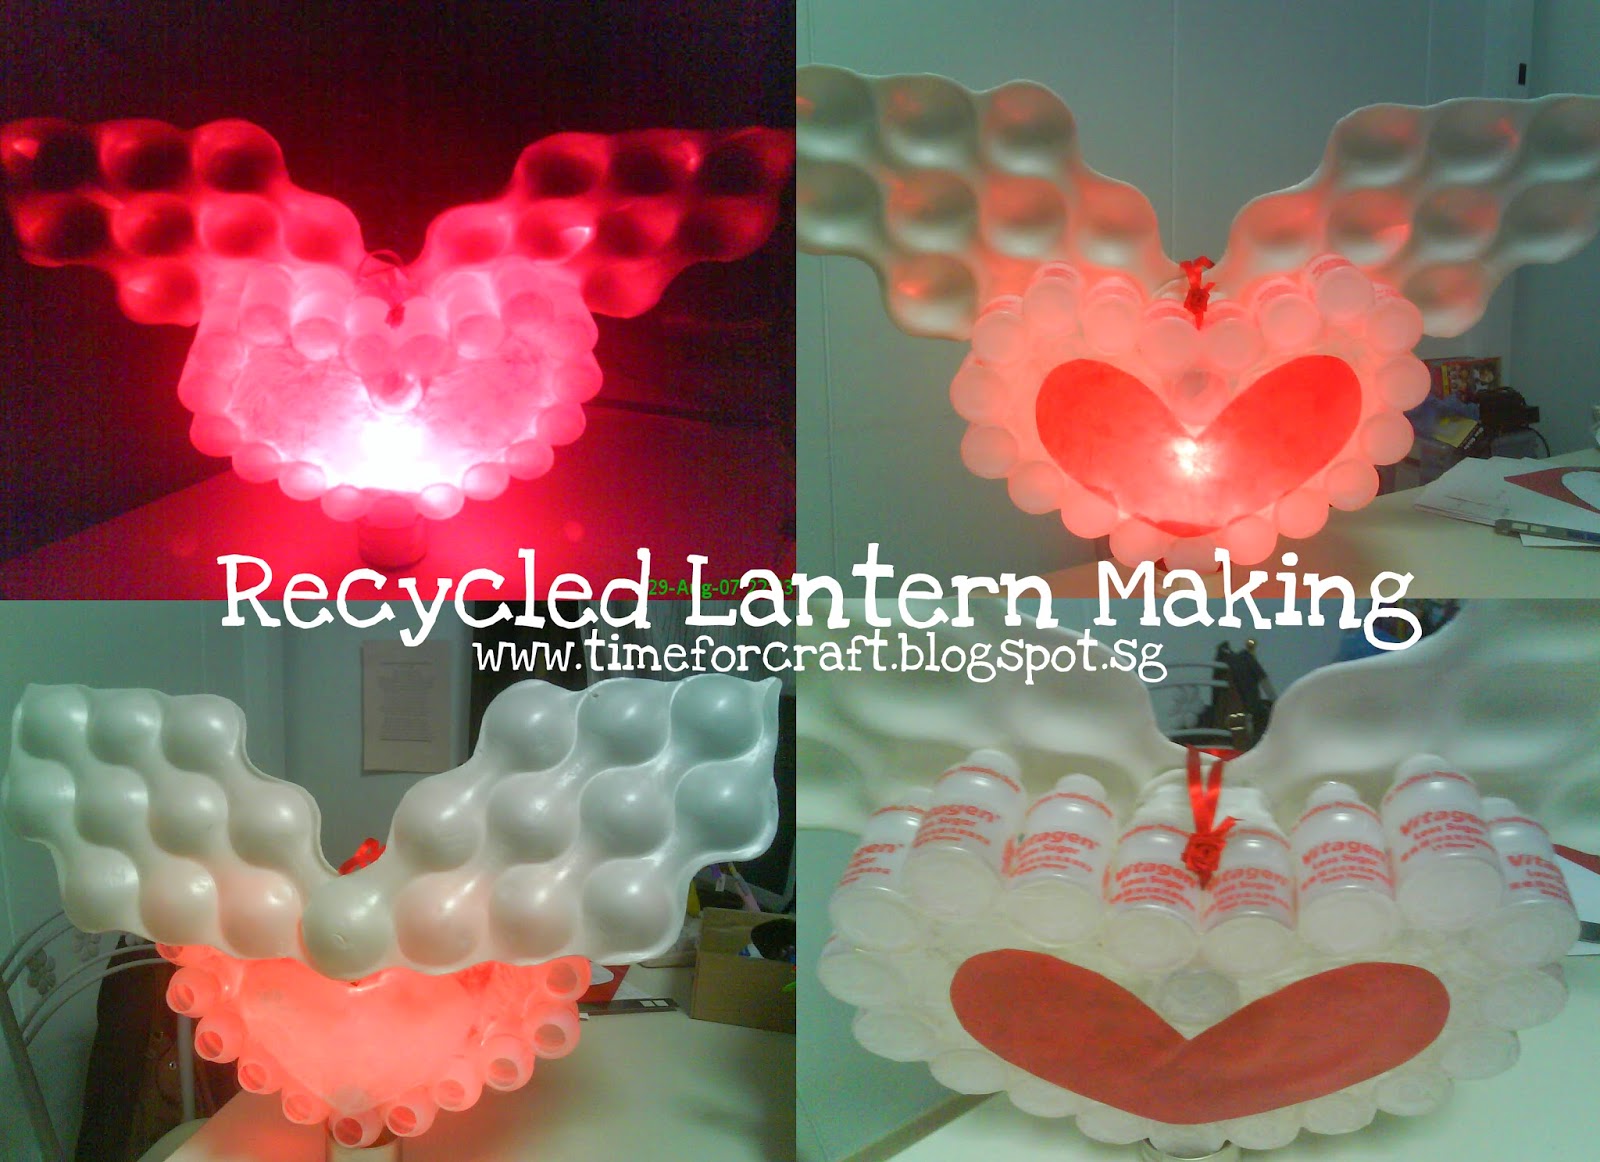
It has been a busy week with a project to take part in a local lantern making competition. I thought I couldn't make it due to a few other things that came in at the same time. As Teachers' Day is drawing near, I have to produce at least another 8 gifts for my son's teachers as a token of appreciation. As I was not technically trained and the support from my 'personal technical officer' was unhopeful, I was unable to fix the light for the lantern. Luckily, I was able to recall a shop at People's Park Centre which might be able to help me with this. After much persuasion, the stall assistant is willing to do me that favor, he gathered the parts: LED bulbs, wires and battery holder etc., and started soldiering... Yeah! At last everything turns out well, though I stayed up till 3am to get those 8 gifts done. Well, I deserve a big pat on my shoulder! This is a heart shape lantern done by us which is made from vitagen bottles, submitted for the Pre-School

DIY Feather Picture Frame

Image
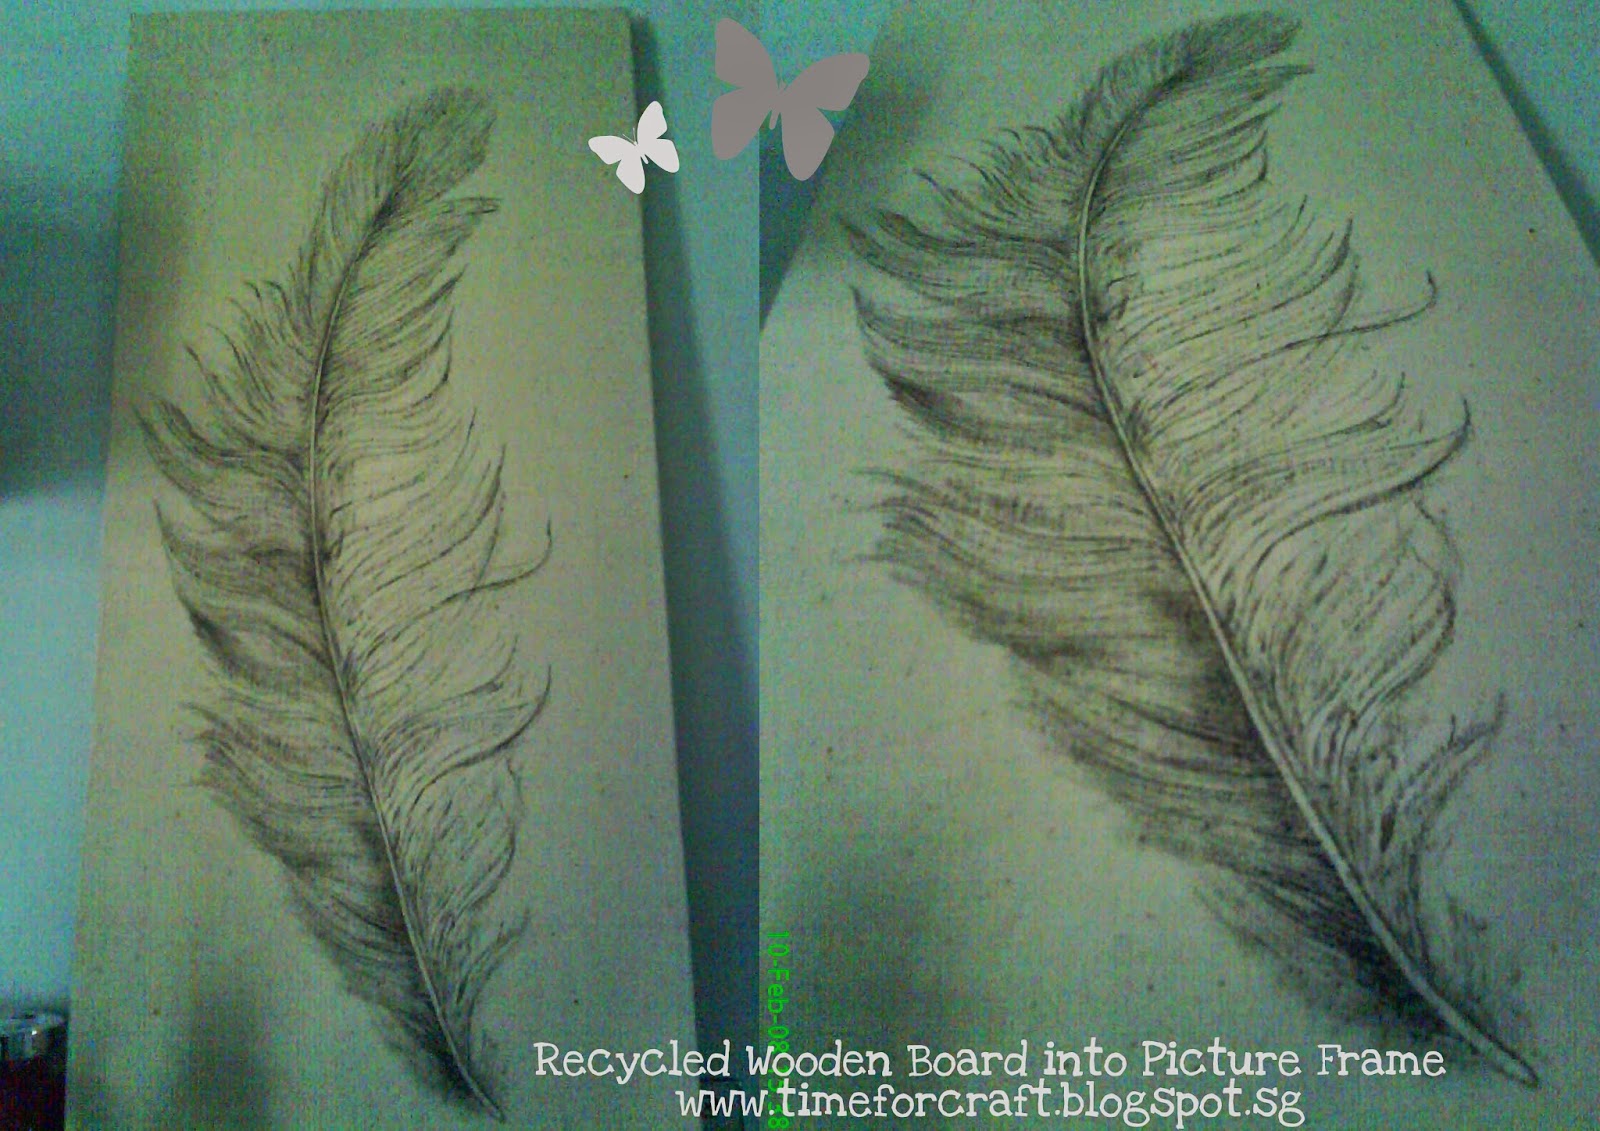
I am deeply in love with wood. I love wooden funiture, I like picking up dropped branches for decorations, I'll bring back nice and useful wooden board/plank that my neighbor thrash away, I'll keep my overdue pussy willow for christmas... So much so that I can't waste any single pieces not to put them in good use. This is another unused plank turned into a decorative piece again. As always, I'll spray some adhesive and wrap the wood with a canvas liked cloth. Then, I'll do the artwork. This time is a 'feather'. To create that feathery strokes, I used a type of water-based pen. With firm and steady hands, I left the pen marks on the cloth, one at a time, some lightly while some more obvious. And there you see, nice?

Kid's Wall Deco

Image
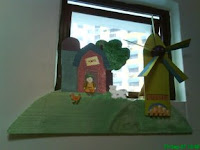
Didn't really have nice picture here again, but this was what I did to decorate my son's bedroom with a farmhouse motive on the wall without adding any stress to my pockets. The small little window was camouflaged with a picture cut-out from polyfoam. I collected them from the packaging that came with fridge carton box. My neighbor somewhere bought the fridge, I have the polyfoam sheets that potected it from dent, lol! I made a turnable windmill out of a recycled board dismantled from a wooden orange crates collected from NTUC supermarket here in Singapore. A perfume spray bottle cap was used as the center piece of the windmill. 5 pieces of the light weight wooden propeller were attached to it and was screwed on to the wooden board. Some stencilling was done to the wall and my boy was given the opportunity to 'scribble' the wall this time. He did some stamping on the wall with animals, farm house and tractor shaped sponge stamps. The color used for the wall are

Blessing Buddha Picture

Image
Saw a number of carved Buddha picture on sale in the market which are priced in thousands. I love the peacefulness but didn't want to pay for that price to own a piece, haha! In order for me to own one similar to that, I did a replica :P. I had a big piece of estimated A0 sized board hand-me-down from a ex-colleague, left in the store. I prepared another piece of muslin cloth big enough to cover the board. I sprayed both the board and the back side of the cloth with adhesive and stick both sides together carefully without crisp. Staple gun was used to gather those loose ends of the cloth nicely intact to the sides and back of the frame. When the frame is done, I started sketching the face of the Budhha using 6B pencil, and did the shading to give it some textured feel. Though it's quite a simple one, but the simplicity is just what I need to add some vibe to my balcony! A picture speak a thousand words, what does this says to you then? Time for craft?

Recycle Ti-Cum Balls (capsule from vending machine)

Image
My son has been spoilt recently buying that $1 capsule from the vending machine everyday after his pre-school. It comes with a surprise toy that kids like but guess what after that? His grandparents' home is full of plastic balls here and there! The only solution to this is for me to think of a way to make use of all these plastic balls from that 'ticum' machines. It's such a waste to thrash them away, so I opened them half apart and sprayed paint them all in white. A light sanding on the surface of each ball is preferred if you'd like the paint to be more durable cos paint will peel off easily if you skip this step. After leaving them to dry for a day, I stringed them up by attaching a string in between and before putting the two halves together. It's kind of like a partition or screen to separate the foyer from the living room. Most importantly, the little one finds it fun to see his stuffs on display and he can't stop messing them up by swinging the

Down Memory Lane

Image
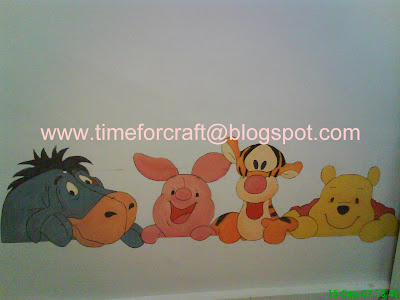
I t was years back that I painted this picture as a surprise for my son (back in 2004) when he was just 3. Pooh was his favorite cartoon. I can still remember vividly how he bound while singing "I saw my piglet hopping by, hopping by'..., those were the good ol' time. And if you would like to do some mural painting too, I do have a few tips for you here. Some may have no idea where to start, what type of paint to use, and how to get so many colors and tones. Firstly, do have an end in mind (sounds familiar lol)! Know what you would like to have on your wall and the purpose or the feel that you want to create. Next, search for inspiration, of course! If you're not too confident, play with something small in size or simple for a starter. I did not purchase any new paint actually. I just made use of the left-over white wall emulsion paint from the past wall painting. I transferred and stored the remainding paint tightly in a plastic container and that had kept i

DIY Water Feature

Image
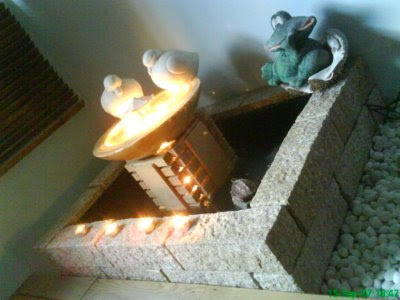
It had been my dream to own a water feature in my balcony, or at least a mini pond filled with koi fishes, relaxing the mind in the sound of splashes... This idea strucked me when a boss of the hardware shop (五金店) cleared my doubt on the use of cement. My only experience with cement was during the time when I 'supervised' the reno for my house. Though I'd noticed the details how the contractor mixed and built walls, screeded the floor, I had totally zero hands-on experience with cement. It's a risk! I bought the whole big pack of powdered cement with another sack of sand home, determined to give it a try. Frankly, even a contractor don't build a water feature using cement I believe! To share some details on the making of this water feature, I've actually used a few plastic trays as the moulds for the tower. They were trays to hold and display toiletries or cosmetics mechandise and were dicarded from the Watson store. You can collect them free of charge if

Country Styled Deco

Image
What could be made from a wooden crate that used to contain oranges? I've dismantled the nails, separated the wood pieces and made use one of the side board to turned into this, a country styled display. I'm truly a fan of country-style decorations, so definitely a good hands-on project here! If you can find any wood lying around, have an eye to look at them differently, you can turn them into something unique!