Posts

Crocheted Key Holders (with strap stopper)

Image
The initial thought was just to 'upgrade' my son's house key holder but I ended up crocheting a few more designs while I recuperate after an operation. I put them up for sale online at Carousell, a mobile application that allows snap to sell, chat to buy for free. You can view some of my work through this link here  https://sg.carousell.com/nov7craft/ I started out crocheting a baby hat for my nephew at the age of 13, learning the skill from a middle-aged lady who own a shop at Beauty World along Upper Bukit Timah. Little did I know that the 5-dollar unplanned lesson (which lasted around 2 hours) I took more than 30 years ago, has the opportunity to ignite a little sparks in me now. Tags:  whale, dino, bear, monster, dragon, key holder, key pouch, with strap stopper, crochet, crocheted, cute, gift

Paint Away! Create a new look for your kitchen cabinet!

Image
This is a 2nd part of my kitchen makeover after I'm done with the counter and counter top. As a Singaporean, I always see my neighbours thrashing out their stuffs from their house. It makes me wonder am I the only one who do salvaging after salvaging, years after years. So, if you are someone like me, stay tune... If you do have leftover wall paint, water-base paint and at the same time loves DIY-ing, my advice to you is to keep those with you. What you need to do is just transfer those leftover into a plastic container and they can be kept for many years for your diy projects or maybe have a kitchen makeover too like mine:> The 'Old' kitchen cabinet paint done 9 years ago, all turning yellowish and dull! The first kitchen cabinet door paint effect... Next three... The whole bottom kitchen cabinet... And, and, my chalkboard!!!... I didn't play by rules, to be frank. Who says wall paint is only mend for the wall and poster colors couldn't be

Want a great makeover with a low budget for your kitchen?

Image
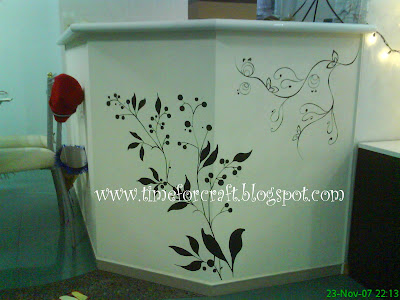
Hi peeps! After years on hiatus, I'm back in the kitchen again for a makeover. Major work I would say, unlike a craft project which is normally in a small handy scale. The paint work that I last done on the kitchen cabinet had either turned yellowish, outdated or peeled. So let's see what I've done over the last one week for this kitchen makeover. Objective of this makeover is not so much on spending big bulks but to make a great change with a small budget! Above are the BEFORE pic of the counter that is situated at the entrance to my kitchen (Wow! 9years!, rolled eyes@@). Below are the AFTER pics of the paint work and effect that I applied to create a modern industrial look. With wear & tear over the years, the wood veneer has peeled off, so I ripped off everything exposing the raw wood beneath instead. Though the only concern about this is the durability of it after ripping off the protecting layer, but what lies ahead is the excitement for a change, an

Wall Deco, I love my dog and my dog loves me!

Image
I never know they are such a loyal pal until I met her. I didn't know they love us till such an extend that they forget about themselves. My gal, my lifelong lover, Muffin, our beautiful house pet! Here goes a wall deco, from a discarded wooded crate, dedicated to our one and only Muffin! WOof woOf!! A special request from my son, he's been pestering me ever since she came into our family and become an important part of our lifes. It is a very easy craft to try your hands on. You can find any boards around to make this. Just prime it with any coat of left over wall paint or acrylic paint, you can choose the colour you prefer. While letting it to dry, take time to choose a photo that will look great as a silhouette, front or side view. Use a pencil to draft lightly on the board after it dries. Paint it with your desired color. Lastly, the quote. You can either print a copy to do the transfer on the board or just draw it with free hand. For mine, I typed out with the font

DIY Bicycle Rims Light Chandelier

Image
My dinning table lighting has been sitting there 'shadeless' for quite a while :P And as my son was into his little bike business recently, I got hold of two bicycle rims which are heading their way to the thrash bin. I thought I must as well kill two birds with one stone, lol. Meaning, I can recycle and spice up the dining area at one go! A Chandelier! Yes, how much I've dreamt to own one chandelier light and who knows? All it takes is a will to make it! "Will Power" - willingness to MAKE it and it will happen, ahem! This is yet to be the completed outlook, but the work in progress pics, as I still need to collect some more recycle 'parts' to give it a final touch. The bicycle rims were used as the hanging rims of this chandelier. The holes for the spokes make it just perfect for this re-purpose project. Different sizes of circles are cut out from old CDs with a soldering iron,

Polymere Clay Miniatures, Bread and Donuts

Image
Has been in love with miniatures these recent years but did not blog about it in any of my post. Here it goes... When I had my first hands-on experience to work with polymere clay around three years ago, I was totally in love with it. Yes, I'm truly in love with this durable, and at the same time flexible clay. The color variations that you can create with polymere clay can turn out very realistic. By looking at the images above you can tell it, lol. There isn't any long hours of firing needed to obtain that hardness, the oven baked clay just need around 130 degree for a short 20 minutes of baking. Convinced? By the way, even my niece thought the donuts was real when I whatsapped her the picture telling her I was on my way to send her some, teehee.

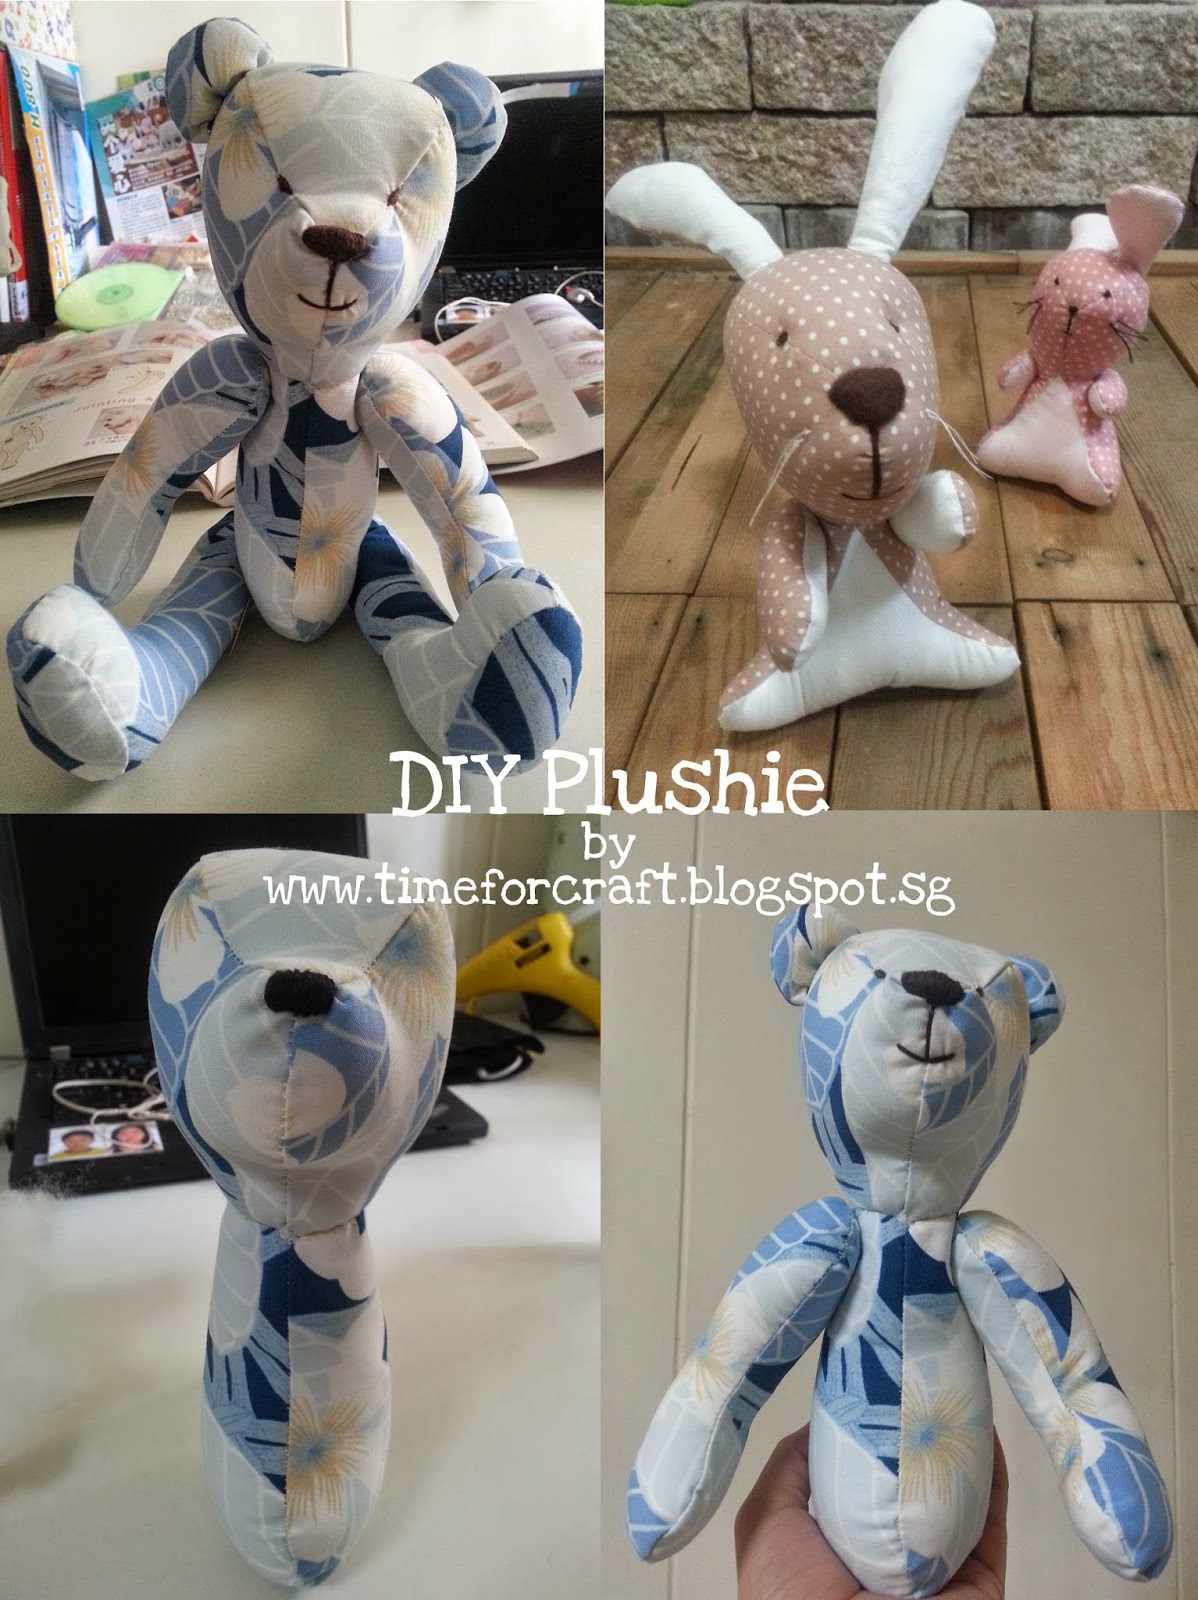
DIY Plushie Bear

Image
My prototype, a bear plushie! Never did I have imagined I could ever make a bear successfully with my hands, frankly, I can still remember clearly how my first diy 'doll' (hopefully it is) looked like when I tried to make one at around 6 years old or maybe younger. A mixture of unmatched scraps, done with jagged lines of hand sewn stitches, holding the pieces together to look like one. A stick I picked up from somewhere hardly hold the head to the body to avoid it from dropping. Little did I know about proper sewing, all I wanted was to own a doll, and that was how I started DIYing my way till this age. It's amazing, when you really want something you'll do something about it. And when a customer's request got in a few months back, I started asking myself why can't I do it, maybe it's time for me to make a doll/bear again... I went to the library to research on the making of bears, studied the steps and take note on the materials used, searched for t