Posts

Showing posts from 2008

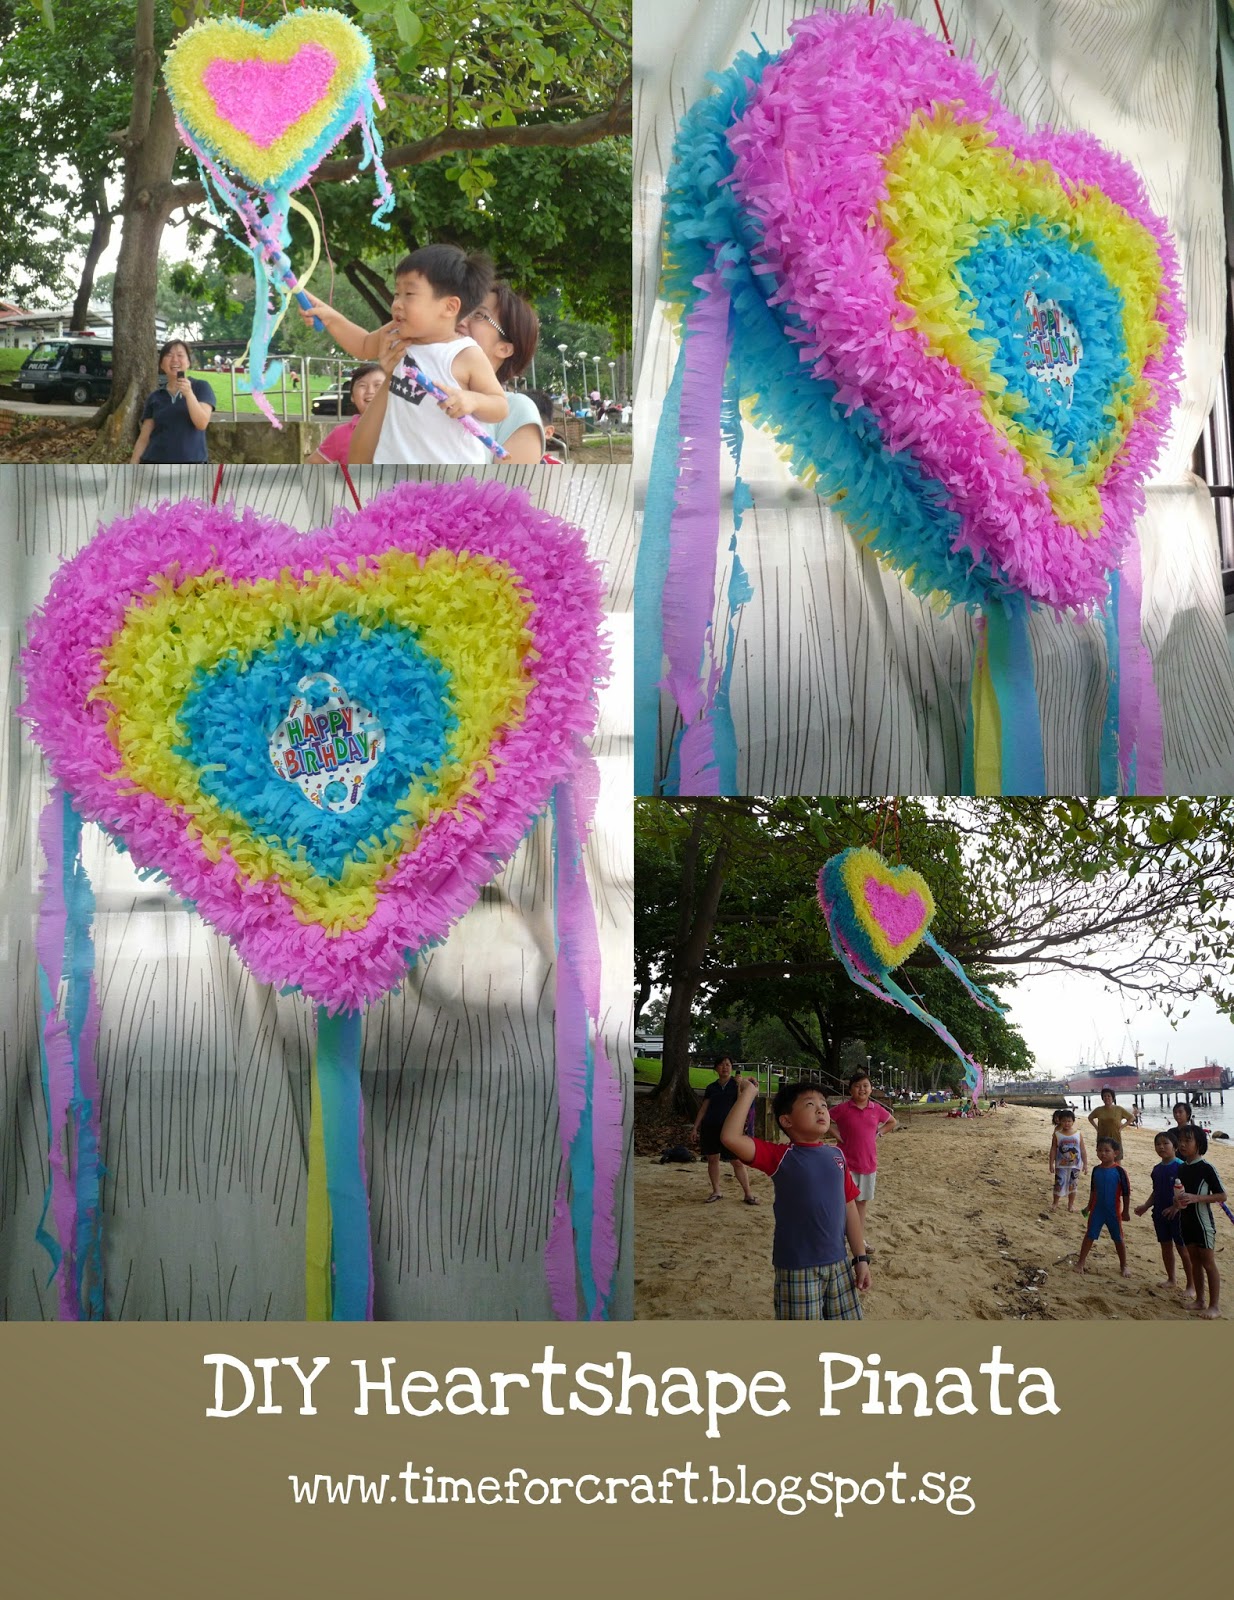
Children Holiday Workshop 2008 (Part II)

Image
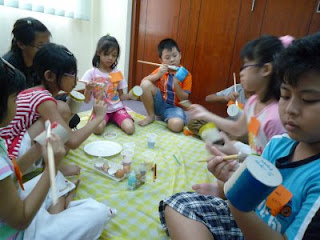
On the actual day of the workshop, 6 volunteers and my dear Diana were at the centre to help run this craft session. Though its a 2 hour session, we are all in a mess!!! Paints everywhere, egg shells everwhere, sigh... But the most important thing, the children really enjoy themselves. They happily brought back their creation. And I, my main objective, is to hope that they can continue to recycle in their daily lives and remember this craft that they have learned today.

Children Holiday Workshop 2008 (Part I)

Image
I 'm volunteering to teach some craft during this November holiday. These are the two crafts I'm teaching... Making use of the toilet paper roll (commercial type) , egg shells and "ticum" balls (扭蛋), I recycled these into useful items - Stationery Holder and Decoration Baubles. As you can see, I create mosaic art by using egg shells as material. Fabric paints were used to highlight the picture.

DIY Heartshape Pinata

Image
Inspire by my friend, Mindy, I couldn't wait further to put my hands on making a pinata for my two nieces on their coming birthday celebration at the beach. From the old old story, Pinata was first started by the Chinese. They celebrated New Year by making figures of cow, buffalo, covered with colored papers and filled with seeds. Though the point of the game is to get the goodie inside, the underlying meaning of such game symbolizes 'hopes'. As the pinata is hanging above your head, its just like you are hoping something from the sky above. Besides, it also symbolizes 'charity', as everyone will have their share of the goodie inside the pinata when it's hit opened. It took me a few days to have it done and a couple of minutes to have it 'destroyed', but I enjoyed making it and seeing the kids having fun and laughter hitting it. The happiness and memories that left behind is enough for this craft to be continued after generations.

Good Cause

Image
Spent the last two days at a family service centre decorating these letters that were hand written by some neighborhood secondary school students in Singapore. These letters were to be hand delivered to an orphanage in Thailand, sending them some words of encouragement and giving them hope from another part of the globe. For a good cause, I'm invited to help make these messages that were written on plain writing pad papers more appealing or heart melting to those unfortunate children at the receiving end. Hoping to catch a little smile when they receive them, or inspire them with some decorative ideas, I do my best to turn them as lovely as possible. I supposed this is what I can do for them at this point of time...

Kids Jungle Theme Deco

Image
A continuation from my previous post... I've created a jungle theme as per requested. As what I've previously mentioned too, those are the thin polyfoam sheets I've collected free from neighbour who bought new fridge/TV, they came with the packaging that are then dumped away. I find it very wasteful to thrash them, thus giving them a new life to make this room livelier. As for the giraffe, I chose the thicker type of polyfoam to carve out the shapes of the mouth and the head, both parts separately. Assemble them with some white glue and then attached to the thinner neck stripes. I left a number of portion white (uncolored), like the worm and monkey for example, thinking that I'll leave them for my boy to do his scribbling and coloring, and have fun!:)

Bedside Guardian Angel (Falling Guard)

Image
As a mum with young kid, we tend to wake up in the middle of the nights checking on their safety, whether they are well undercover with a blanket or have our pet dog taken over their pillow and bolster and having a rolling good night... There're so much that we couldn't stop getting worried. To save me from fear that my boy might roll down from the bed one day, I made this bedside falling guard for him last year. We call it his guardian angel. Even though I'm not quiet confident how it will work out when I first started working on it, wondering how tolerant it will be to withstand his weight in the night, but months of quality checked - Passed!, He did not roll down- Relived! And I have more peaceful sleep all this while. These are all you need to get started: 1 huge, thick and durable carton box (I got mine free from a neighbor who bought a LCD TV) Cutter & Scissor (to cut the carton box) Old newspapers (torn into big pieces to cover the box) Wh

Award Winning Lantern Making

Image
I'm proud and humble both at the same time to be awarded for the craft I did in these two consecutives  year. I submitted this project for the 8th Lantern Making Competition, Primary Category (for my son) organised by Chinatown Point, the Official Mascots of the Beijing 2008 Olympic Games, 福娃欢欢  as the inspiration. It takes about three weeks to make, using all recycled materials as usual. I spent less than $10 on paint, masking tape, glue and bulbs. It's quite motivating after all, cos the lantern won the 1st prize and was published on papers (晚报) the next day. This reminds me of a proverb that says: " You are never really playing an opponent. You are playing yourself, your own highest standard. And when you reach your highest limits, that is real joy." Though this is yet to be the best, but as time goes, we are a better version of ourself, each time we take up a challenge and keep moving. One great tips here if you have realised, is the use of papers f

Cute Pom Pom Glass Container

Image
I' ts yet another pom pom project. Two cutie glass container made for Teachers' Day this time! What you need here are:- 1 Glass container with cover (I got mine from bird nest drink). You can collect from some baby food too. 1or2 thick colored yarn (to make into pom pom) 1 pipe cleaners ( to insert into centre of pom pom to make as the antennae) 2 little black beads as eyelets 1 bigger bead for the nose Some UHU glue Just make the pom pom and assemble everything together with dabs of UHU glue. Have some fun twisting the pipe cleaners to create cheeky and stunning looking pom pom.

Pom Pom Flowers

Image
5 puffy pom pom flowers with a combination of different color yarns, specially made with my son to gift away to the mums around this coming Mother's Day. Each pom pom was attached to a big plastic straws that comes with drinking bubble milk tea. The leaves that I sticked on the straws were made from the straws itself, just cut them half lengthwise and fold. Hope this inspires you with some new ideas or maybe start getting your hands working...

DIY Castle Pinata

Image
This post is specially dedicated to a friend, Mindy, a big applause to a great mum who created this castle pinata for her kids at their birthday party! Didn't take a good picture of it before it's gone with the hitting and smashing from the kids for the goodness in it to explode. By the way, pinata has been a significant tradition 'toy' suspended from a height, intended to be broken by blindfolded children with a stick. It symbolises hope to look upon and has been a way to celebrate special occasions such as Birthdays, Christmas and New Year. Basically, a recycled carton box to form the shape of the castle, rounded hollow tubes were added on the corners as the towers and cone shapes were topped on the tops. Colored crepe papers were cut and decorated. It sounds as simple as it is, but it's time, effort and loves that contributed to the making! Great to share awesomeness from friends here...

DIY Foot Rest, Ottoman

Image
I've collected a few pieces of  wooden wine cartons from the wine seller and thought I'd get one to put into use in this craft. What you need is a piece of muslin cloth (wide enough to cover the whole box with allowance for some thickness of sponge/cotton fibre fillings around it), some needle and thread, staple gun and bullets, and acrylic paints to add some drawing as decoration. Start it off by stapling one side of the cloth to the inner side of the box so that all staples are invisible. Lay a layer of sponge/cotton fibre around the surface of the box, just enough for the comfort when you're sitted. Cover them with the cloth you've just stapled. Now, staple the opposite to that side, pulling the cloth tight enough for the cloth to look firm and neat on the surface. Continue to work for the rest of the two other sides, making sure the loose cloth at the four corners are trimmed and tugged underneath. Some sewing is neccesary at these areas for a nice finishi

Recycling Cans into Vase

Image
If you have noticed, there're a certain type of canned food which are designed and manufactured in a way that each can be stacked firmly on top another. I made use of 5 nos. of such cans like the Nestle cream cans to create this long vase. Simply hot glue them one by one, labels peeled of course. Next, you need  a roll of your desired colored thread to twine them around starting either from the top or bottom. Apply UHU or craft glue as you go along so that the glue won't dry up before you. This is how I made these recycled cans come alive! The golden thread that I used here enhanced the whole look of the vase and make it looks pricey. Can you tell it's made from cans?